
UserGems has a native integration with Gong Engage that has two important benefits:
- It allows UserGems to push Gem-E powered AI messaging or templated emails directly into your Gong flows, so you don’t need to build them and messaging from scratch
- It allows for UserGems to automatically add prospects directly to the right flow in addition to sending to the CRM.
Steps
1. Connect your Gong Engage instance to UserGems

- Additional resource: Gong Engage Connected User - Required Permissions
2. Create Gem-E Flow(s)
Now you'll create a new flow (or a few) that will dynamically populate with Gem-E messaging when a prospect enters the cadence.
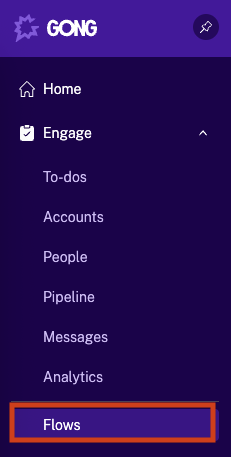
- Within Gong, navigate to Engage > Flows
- Navigate to the Company Flows folder
- Company flows can only be created/edited by people who are authorized to do so in the Engage section of their Permission Profile (see this Gong article for details)
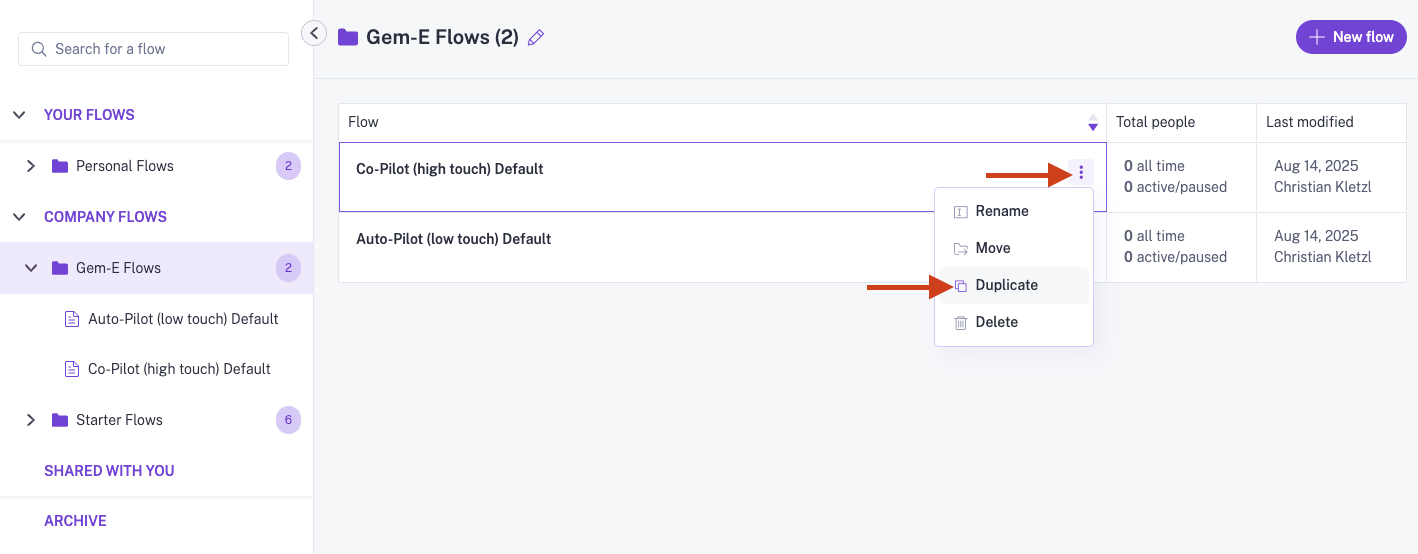
- Optionally, create a folder for UserGems/Gem-E Flows as shown in our screenshots
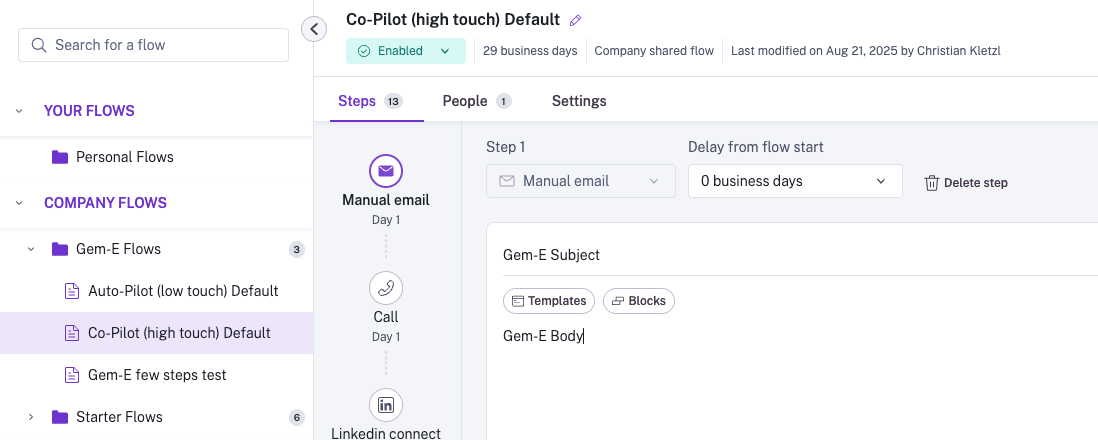
- Click New Flow or edit an existing flow

- Since Gem-E will overwrite all text in the subject and body of each email it generates, you can really put whatever you want into these sections. As an easy-to-follow best practice, feel free to just put "Gem-E Subject" and "Gem-E Body" into the respective sections.
- Note that signatures defined within the out-of-the-box Gong user settings will still be appended to Gem-E written emails in your flows.
- Depending on campaign, this flow can then just be duplicated & fine-tuned going forward.
Use the variables set up in Step 2 for the subject and body of each email step.
Example flow structures are included below:
Start with a manual first step during testing and switch to automated later if desired.
Co-pilot (High Touch) template for past champions:
Co-pilot (High Touch) template for everyone besides past champions:
Autopilot (low touch) template:
3. Configure UserGems Workflows for Automated Enrollment
Utilize UserGems workflow actions to automatically enroll prospects into Gong Flows with Gem-E generated messaging.
To configure a new workflow within a UserGems campaign:
- In UserGems, navigate to Campaigns, then select the workflow that you would like to utilize for Gong Engage flow enrollment

- After configuring the workflow for your specs (Audience, Limits, CRM step(s), routing, etc), add in a "Generate AI Messaging" step.
- Within this step, provide all relevant instruction for how the emails should be generated:
- Custom prompts/instruction
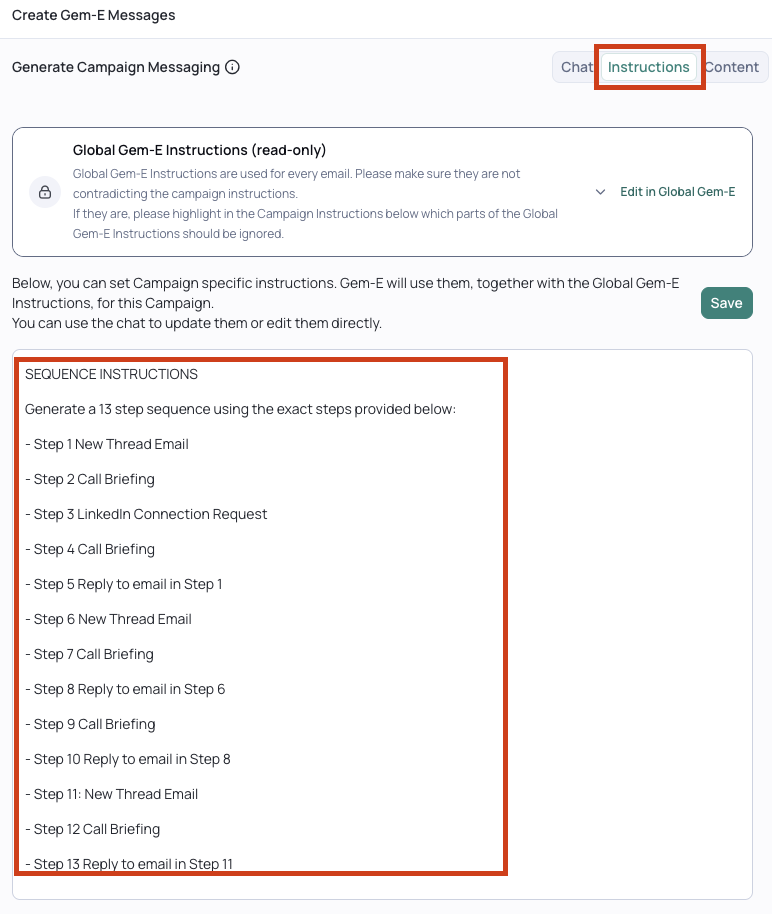
- (REQUIRED) Flow structure: Since there is a limitation with Gong's Engage API and what UserGems can read out of it, we must define in the Gem-E Instructions of the workflow exactly what the flow structure looks like including step types and where we see reply vs new thread email steps. Here is an example of how this would/could look:
- Within this step, provide all relevant instruction for how the emails should be generated:
Autopilot and Co-pilot sample instruction at the bottom of this article that you can copy and paste directly into the instructions
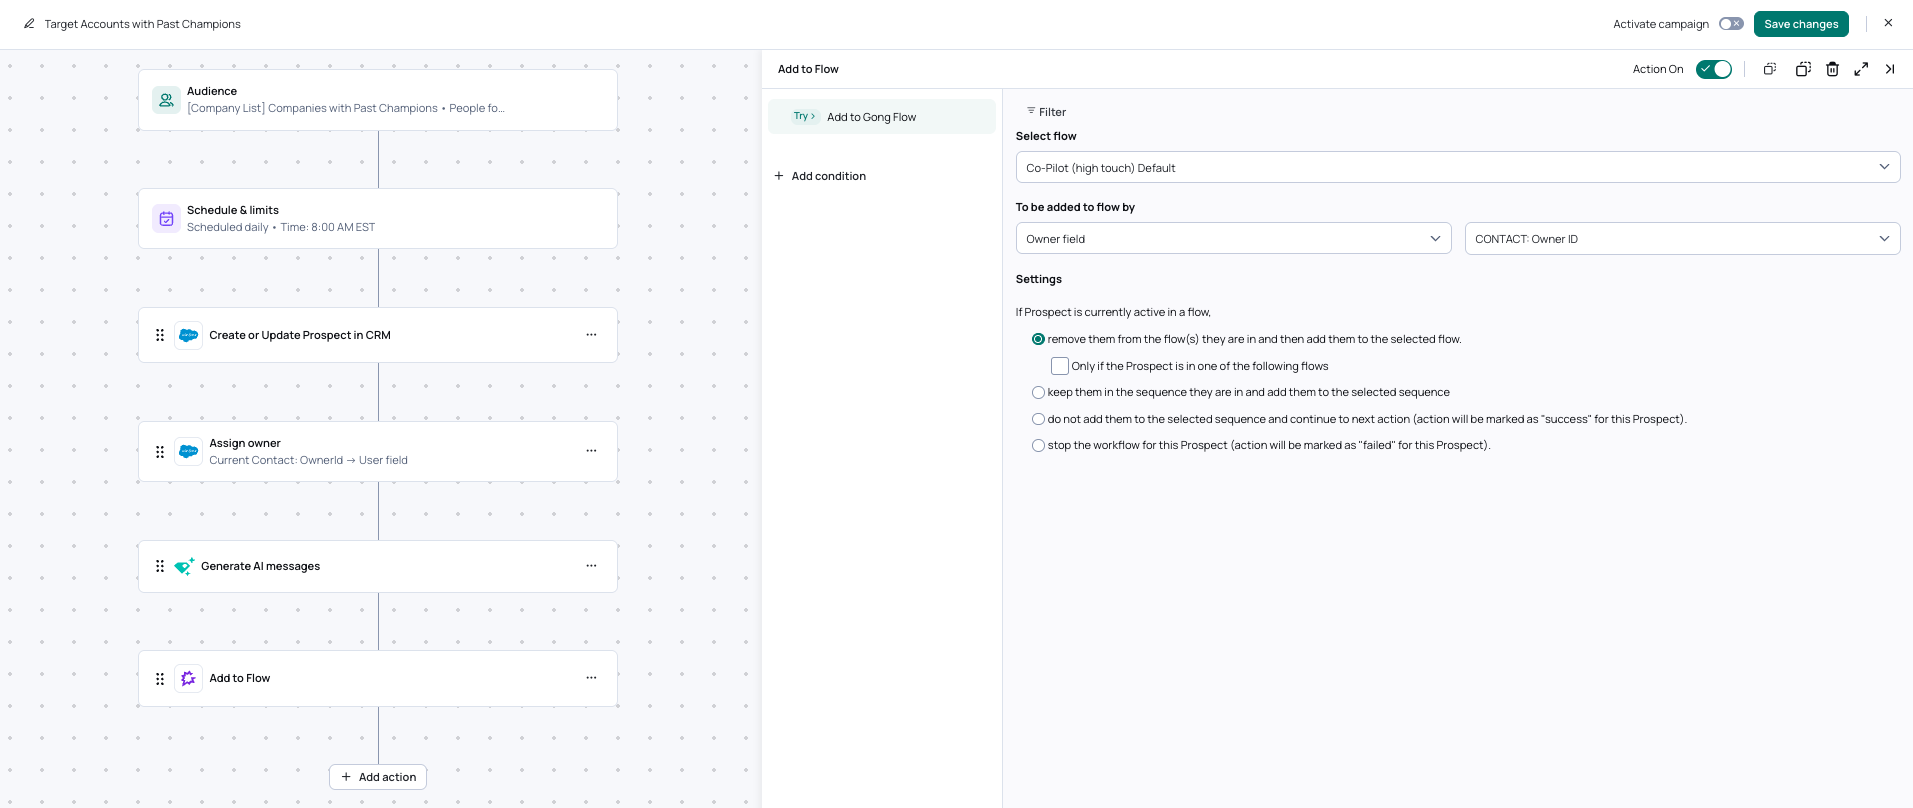
- Then, add your "Add to Flow" action to the workflow where you can select the specific flow for enrollment + define other relevant settings
Troubleshooting
Gong Engage has a setting that allows Flows you configure to be set as exclusive to prevent people from being in multiple active flows at the same time. By default, Engage flows are exclusive, but can be configured to allow non-exclusivity.
Sometimes customers run into issues around flow exclusivity - i.e. 20 prospects should have been enrolled in a flow, but only 10 were added because the other 10 were in an exclusive flow already.
For UserGems purposes, we recommend configuring your flows so that any given prospect only enrolls in one UG flow at a time.
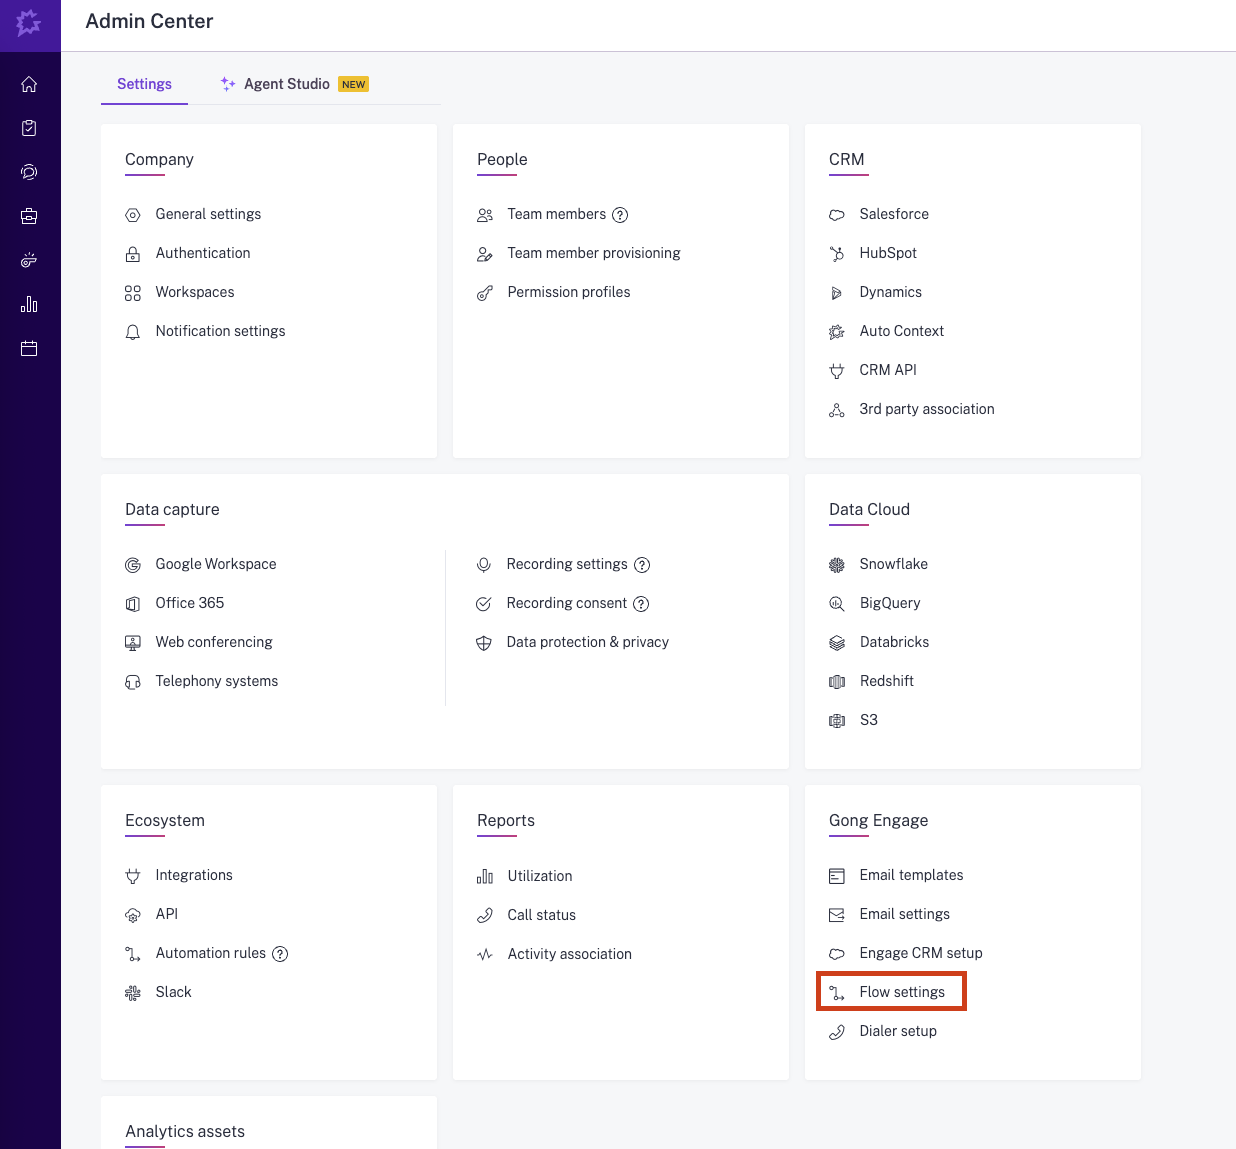
To view your Engage exclusivity settings, navigate to Settings > Gong Engage > Flow settings
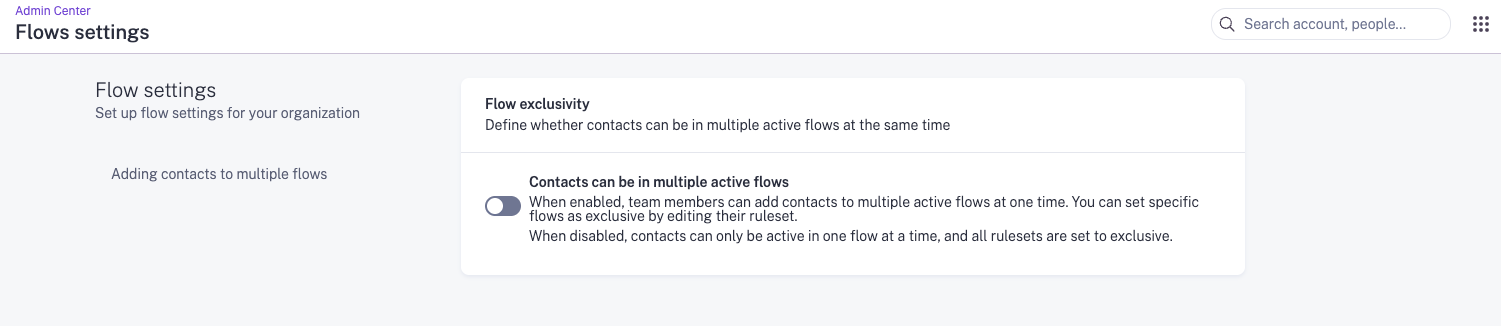
If your Engage account is configured with Flow Exclusivity turned OFF (i.e. the toggle above is ON so that contacts can be in multiple active flows), you can still make Gem-E Flows exclusive as recommended using the steps below:
- Navigate to Engage > Flows
- Select the Gem-E Flow you want to work on
- Either edit your default Ruleset or create a new Ruleset to make the flow exclusive

Setting a flow as exclusive won’t remove people from flows they’re already in. It only applies to future people that get added to the flow. See this Gong article for more information on flow exclusivity.
Sample Gem-E Instructions for Gong Flow Structure
You can copy the below instructions exactly (including "SEQUENCE INSTRUCTIONS") if following the best practice Flow configurations in the table above, but feel free to adjust accordingly if you alter away from the structures outlined
Co-pilot (High Touch) template for past champions:
SEQUENCE INSTRUCTIONS
Generate a 13 step sequence using the exact steps provided below:
- Step 1 New Thread Email
- Step 2 Call Briefing
- Step 3 LinkedIn Connection Request
- Step 4 Call Briefing
- Step 5 Reply to email in Step 1
- Step 6 New Thread Email
- Step 7 Call Briefing
- Step 8 Reply to email in Step 6
- Step 9 Call Briefing
- Step 10 Reply to email in Step 8
- Step 11: New Thread Email
- Step 12 Call Briefing
- Step 13 Reply to email in Step 11
Co-pilot (High Touch) template for everyone besides past champions:
SEQUENCE INSTRUCTIONS
Generate a 15 step sequence using the exact steps provided below:
- Step 1 New Thread Email
- Step 2 LinkedIn Connection Request
- Step 3 Call Briefing
- Step 4 Reply to email in Step 1
- Step 5 LinkedIn Message
- Step 6 Call Briefing
- Step 7 New Thread Email
- Step 8 Call Briefing
- Step 9 Reply to email in Step 7
- Step 10 LinkedIn Message
- Step 11: New Thread Email
- Step 12 Call Briefing
- Step 13 New Thread Email
- Step 14 New Thread Email
- Step 15 Call Briefing
Autopilot (low touch) template:
SEQUENCE INSTRUCTIONS
Generate a 7 step sequence using the exact steps provided below:
- Step 1 New Thread Email
- Step 2 Reply to email in Step 1
- Step 3 New Email
- Step 4 Reply to email in Step 3
- Step 5 Reply to email in Step 4
- Step 6 New Email
- Step 7 Reply to email in Step 6