1. Summary
Connecting UserGems to Salesloft enables the following features:
- Automatically sync UserGems cadence templates with Salesloft
- Enable engagement automations, such as adding your contacts to cadences when they match certain criteria
- Keep track of activities to your contacts
2. Connect Salesloft
You can connect your UserGems account to Salesloft during setup by tapping on "Connect to Salesloft" in this step:

If you skip this step initially you can also go to https://app.usergems.com/settings#engagement any time to connect to Salesloft (or navigate to "Settings" -> "Engagement" in the UserGems web app).
When you tap on "Connect to Salesloft", you will be prompted to sign in to Salesloft with your account credentials. Please sign-in to complete your connection.

3. Configure Data Mappings
After connecting your Salesloft account, complete the field mappings from UserGems to Salesloft at the top of the Engagement page. On the left are the UserGems fields to map using the dropdown list of Salesloft fields on the right.
Map the fields below as applicable for your UserGems setup:
- Past Company
- AI Email Subject*
- AI Email Bodies*
*These fields are only applicable for customers using Gem-E AI Emails

4. Sync UserGems cadence templates with Salesloft
Next you can sync UserGems-recommended sequences to Salesloft by selecting the Sequences you want to sync -> clicking "Send templates to Salesloft" at the bottom right, so you can automate UserGems playbooks based on signals and other criteria:

5. Salesloft CRM Sync
Before activating Workflows in UserGems, please make sure you have enabled CRM Sync in Salesloft to ensure your accounts, contacts and leads are automatically synced to Salesloft and can be added to cadences automatically. Please follow these guidelines to activate CRM Sync in Salesloft: https://help.salesloft.com/s/article/Manage-CRM-Sync?language=en_US
How it works:
- UserGems detects a signal and automatically creates or updates a contact or lead in your CRM
- Salesloft looks for new records and updates to your contact/leads in your CRM, syncing them back to Salesloft
6. Build Workflows
After connecting Salesloft, you can set up Workflows to add your contacts/leads to the right Sequences, using UserGems signals as criteria.
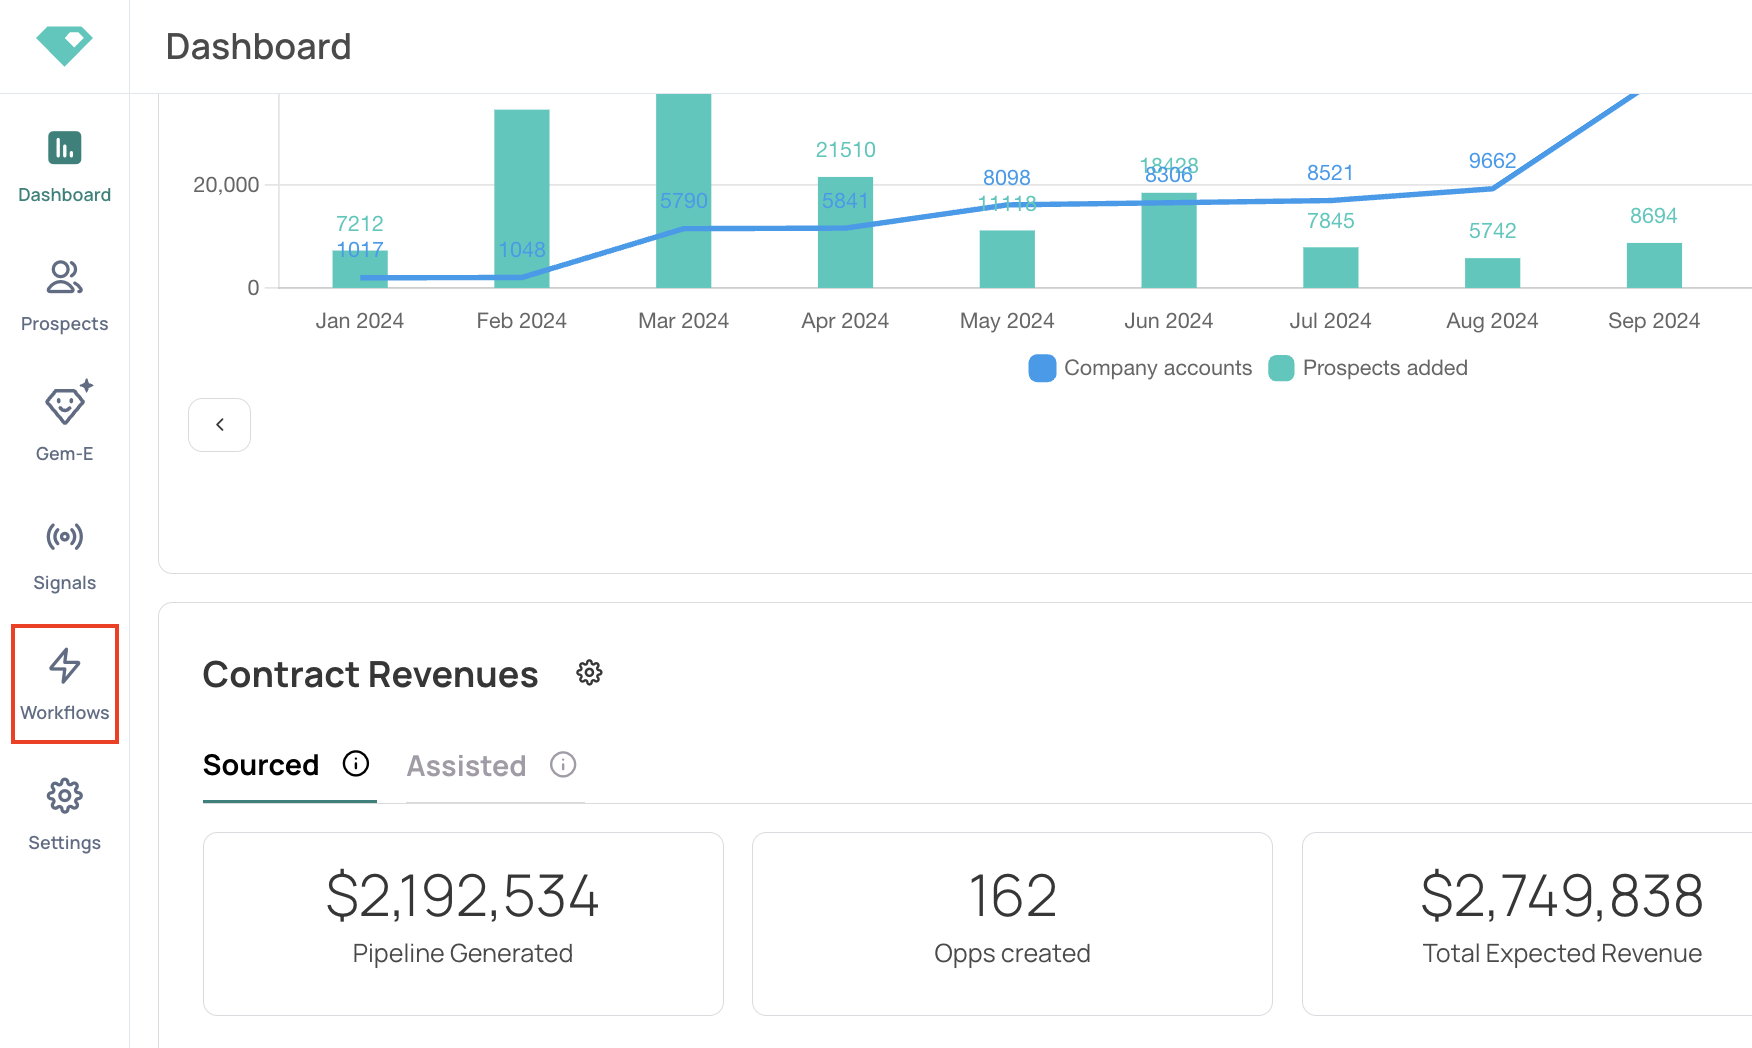
1. To start, click Workflows in the sidebar:

In this example, we’re showing how to create a workflow using a signal for Past Champions joining an Intent Account. Click "Add Workflow" to get started.

2. Next either:
- Select Playbook: Choose a playbook that matches the selected objective and signal. We'll use option for our example.


- Create Custom Audience: Alternatively, create a custom audience at this stage instead of selecting a pre-built playbook.
3. Review and Optionally Edit the Audience. View the selected audience filters and the number of detected prospects.

4. Review which actions should take place in this workflow. This example uses a pre-built template, but you can click here for an article on Setting Up Workflows with other options.
*Make sure any action you'd like to occur is toggled to 'ON' in the top right.
**Delete any action not needed by clicking on the garbage can icon

5. Determine how frequently this workflow should run by clicking the "Schedule & limits" section and then selecting Daily, Weekly, or Monthly as well as a time for the workflow to run. Set workflow limits here if desired.

6. Save and Activate your Workflow!

If you have any questions about setting up Workflows, please contact your Customer Success Manager or check out this article on Setting Up Workflows.